So, Jen and I are back from all our summer adventures and officially back in school. Me as a student, her as a teacher, which keeps us both a little busy. But, never too busy to create!
We got together for some much needed craft time. She made a jewelry organizer (tutorial will be posted in the near future), and I made a desk organizer. As an Interior Design student I have a lot of drawing, drafting, and rendering supplies. Seeing them out is part of the inspirational process for me, so I wanted a cute way to display them.
I'm happy with the result and it looks great sitting below my paint chip frame. Which is FINALLY hanging!
- Wooden box of some sort (mine was a window box)
- Scrap wood (these will be your dividers/optional)
- Chalkboard paint
- Spray paint
- Regular interior paint (you could easily use spray paint as well)
- Painters tape
Like many of the projects we do, I had all of these supplies already. I like the challenge of gathering materials and making something unexpected with them!
Tape off the front. That's where the chalkboard paint will go later. Paint the rest of the box with the interior house paint (or whatever you are using).
Now, the back of my box couldn't be just a boring solid color. I had to be an overachiever and do a chevron pattern. It was not the easiest thing I've ever done, but it was worth it in the end... isn't that usually the case?!
I used this tutorial to create the chevron pattern. It's clear and makes it simple.
Once you have your chevron pattern taped down, spray paint the back entirely.
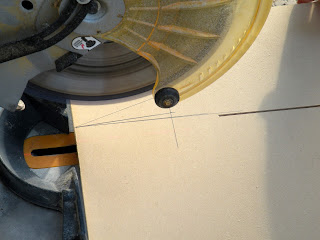
While the box is drying, measure and cut your scrap wood for your dividers. This is definitely optional, but for what I wanted to use this for dividers were essential. Big round of applause to Jen for helping me/doing this part!
Remove the tape and take a moment to admire that beautiful custom chevron job. Tape off the parts you don't want spray painted (green) and continue painting the sides. NOT the front... that's for the chalkboard paint.
Paint your dividers.
Once everything is completely dry, tape off the sides of your box and paint the front with chalkboard paint. I did several coats for a solid black surface.
Glue your dividers into place in the desired location. I used Elmer's Tacky Glue.
Wait for it all to dry, and you're done!
Front
Back
I love that it's so versatile. It looks cute from all angles and can be used for anything! I just wipe the chalkboard surface and it can become something totally new.
Have fun creating!


No comments:
Post a Comment