

A while ago we discovered this photograph and knew we wanted to replicate it. Originally the plan was to do an entire wall like the one above but since we both usually rent where we're living we adapted it and decided to put the chips into frames.
This is a great project because it's really inexpensive (or free if you already have the supplies) and the finished result is really cool and easy to move!
Supplies Needed:
- Frame(s)
- Paint chips
- Spray glue (We used Loctite Spray Adhesive General Performance)
- Patience
One of the many perks of working for the Frank Lloyd Wright Foundation at Taliesin West is all the cool stuff they give away. Last summer the foundation was cleaning out the archives on the property and were giving away these nice museum size frames that once held Wright's own drawings and renderings. So of course when they asked if we were interested in taking some we couldn't say no.

We realize not everyone will have a frame this large but this project can work on any scale, large or small.
Let's get started!
Step 1: Collect your paint chips! Because we used large frames and wanted lots of color options we gathered A LOT of samples from 5 or 6 different hardware stores. How many free samples can you take before it's considered stealing?!


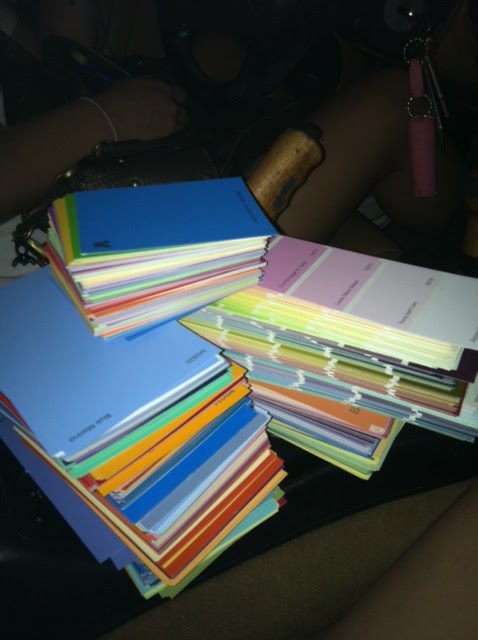
Step 2: Organize your paint chips. You can do this however you want but because we are a little OCD we did it in color spectrum order.

Step 3: Design your layout. Initially we used large packing paper and traced the size of our frames to design the layout but as time went on we discovered that it was easiest to lay the paint chips directly on the frame. This part takes some time. We worked on our design for about 4 hours before deciding on the final layout. This may also have something to do with our OCD...? Just play around with the different shades and shapes. It's sort of like a giant game of tetris.


Food break....

Step 4: Once you're happy with your layout it's time to start gluing. Pick up your paint chips one or two at a time and spray them with your glue. We used a cardboard box to keep the mess to a minimum. We couldn't have been happier with the spray glue. It worked really well and was easy to use. Each paint sample essentially became a sticker that could be pulled up and moved if we weren't happy with the placement.


Step 5: Once all your paint chips are glued down reassemble your frame and take a step back to admire the piece of artwork you just created!
Here are our final results.

Jen's Frame

Shelby's Frame
As you can see we took different approaches but this just proves the possibilities are endless. Good luck and most importantly have fun!
No comments:
Post a Comment